Getting started#
This exercise will guide you through the process of creating your first commit and pushing it to GitLab. We will use the repository of the first assignment as an example.
Warning
Make sure that you have worked through the introduction to version control using git before you start.
Pair up#
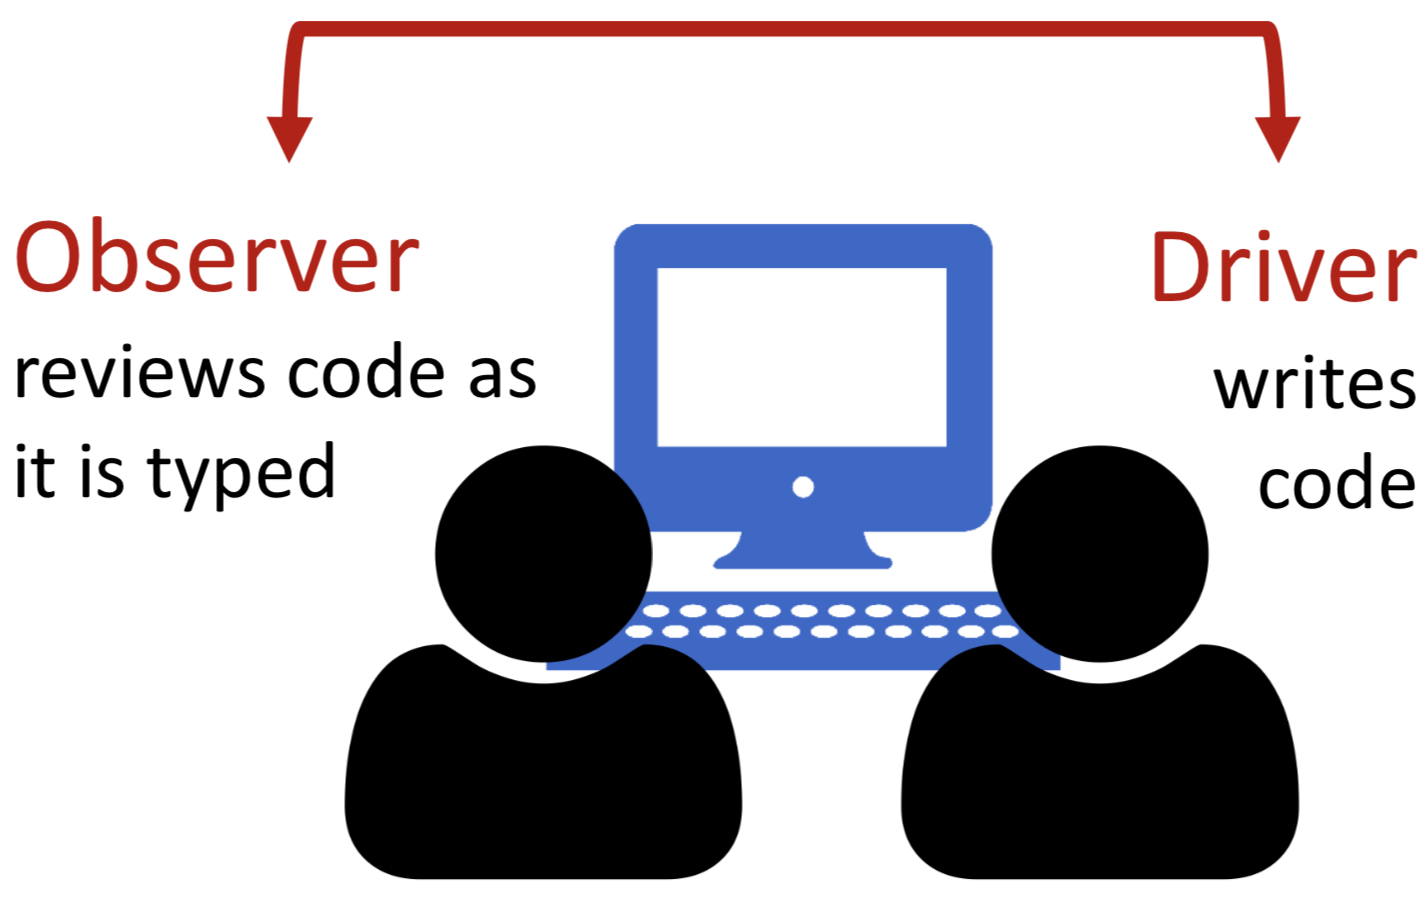
Some of you already know how to create a commits, others don’t. Pair up with someone who is at a different level of experience and work through the exercises together. The less experienced one will type. As the more experienced person, you will consolidate your knowledge by explaining the process to your partner.

1. Using the command line#
Practice using the command line with these exercises. Take a look at the list of common commands to refresh your memory if needed.
Open your terminal (on windows maybe also command prompt).
Print the current working directory (i.e. the path to the folder you are in).
List all directories.
Navigate to the folder ‘Desktop’.
List all directories in the ‘Desktop’ folder.
Create a new folder called ‘fossgis’.
Navigate to the ‘fossgis’ folder.
List all files in the ‘fossgis’ folder.
2. Version control with git#
2.1. Fork the repository#
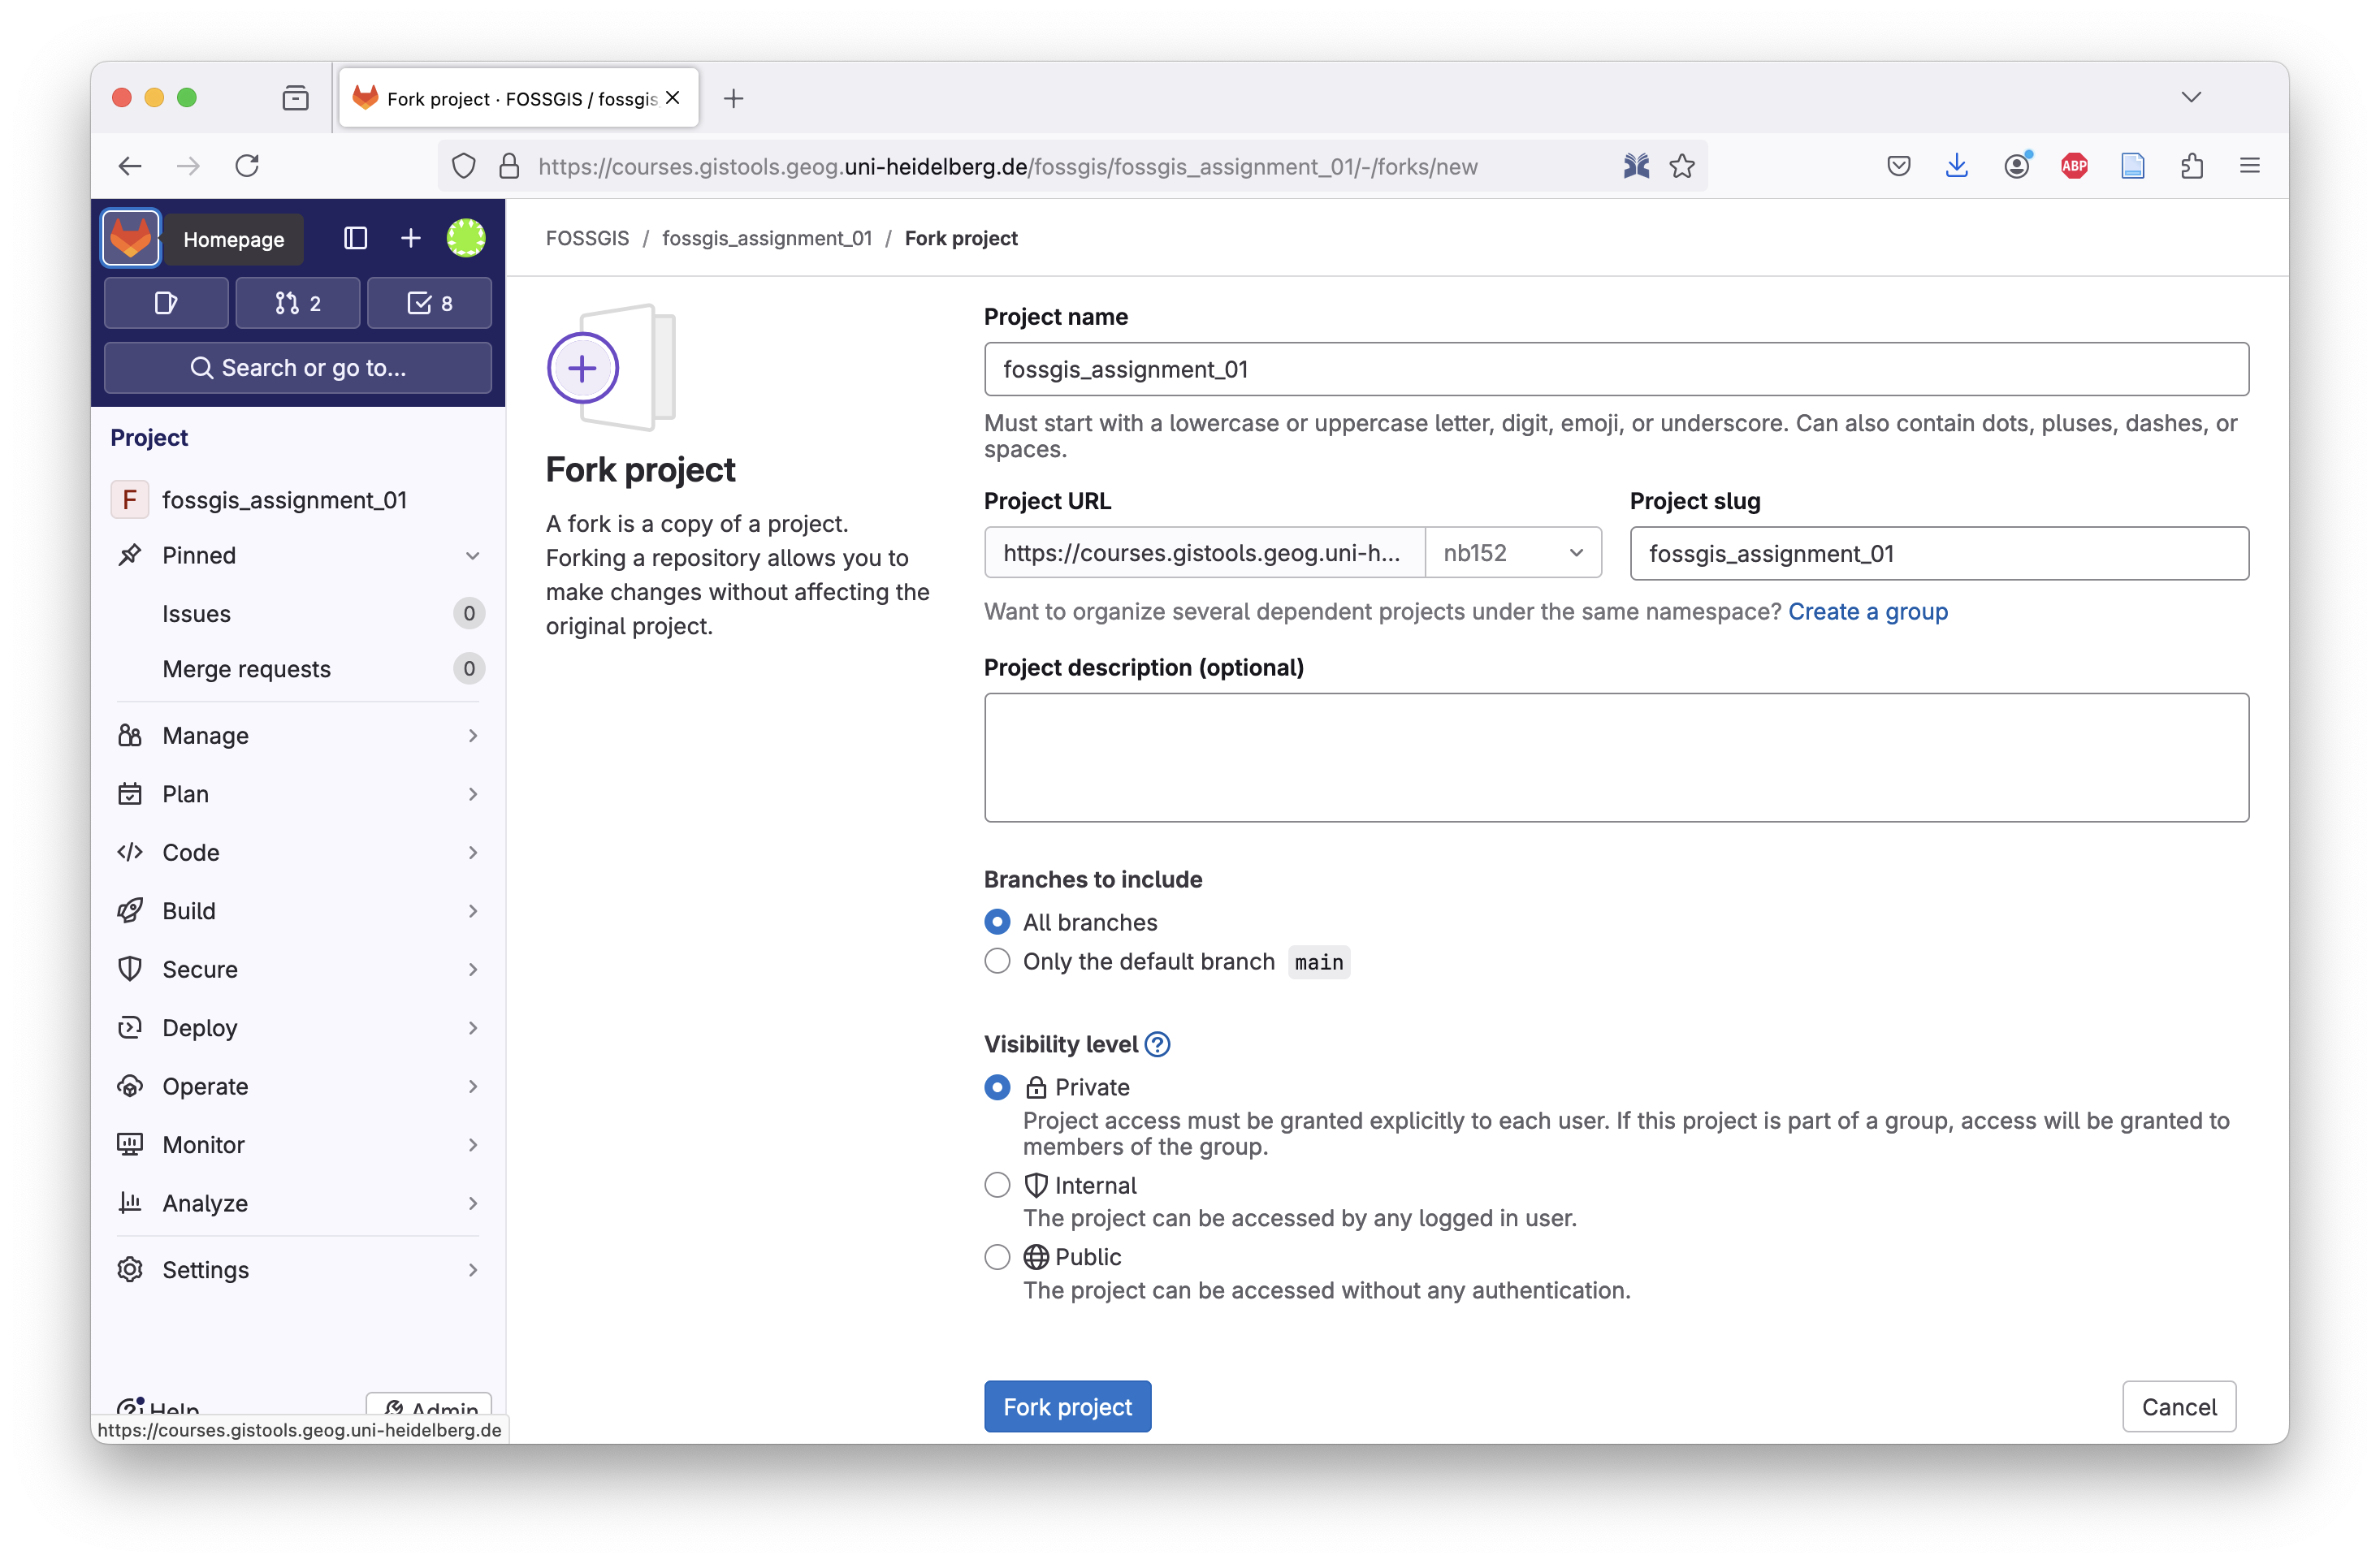
Fork the repository of the first assignment on GitLab: https://courses.gistools.geog.uni-heidelberg.de/fossgis/fossgis_assignment_01

Choose your own namespace in the Project URL field and set the visibility level to private before you click on the “Fork project” button. In this course, you should fork the assignment repositories, so you have your own copy of the repository on Gitlab where you can upload your own submissions.

2.2. Clone the repository#
Clone repository (replace test123 with your own URZ ID) by executing the following command in your command line (mac, linux) or git bash (windows):
git clone https://courses.gistools.geog.uni-heidelberg.de/test123/fossgis_assignment_01
Move into the repository
cd ./fossgis_assignment_01
Explore the files in the directory using the commands you’ve already learned. Have a look here to refresh your memory.
2.3. Create a commit#
Create a new file called ‘ham.txt’ in the folder using a text editor and save it.
Create a commit containing this file change by running the following commands:
1. Add the file to the staging area:
$ git add ham.txt
2. Create a commit containing the file in the staging area:
$ git commit -m "edited ham.py, created spam.txt"
If you need help, watch the video tutorial below on how to create a commit.
Note
Note that the files and the URLs in the video will be different from yours but the principle is the same.
2.4. Push the commit to GitLab#
Push the commit to the remote repository by executing the following command:
$ git push origin main
